Protect your online events from intruders
We want staff and students planning large online events to run them confidently without the fear of malicious disruptions. Follow this guide to minimise the risk of nuisance users joining in the first place and how to remove them if they do.
Before your meeting
Require registration
If you use a Microsoft Teams registration form:
- attendees won’t be to forward the link
- only registered participants can enter your meeting.
You should ask attendees to sign up with their professional email. Usually, nuisance users will set up a fake email to register for events. Asking for workplace information helps to prevent this as it reduces anonymity.
To learn more about adding registration forms, read the Microsoft support page.
Set your meeting options
Set the meeting options to restrict what your audience is able to do during the meeting. This includes using their microphone, camera, and the meeting chat.
To access this menu:
- Go to your Teams calendar.
- Select the meeting you want to change options for.
- Select Edit.
- Select Meeting options.
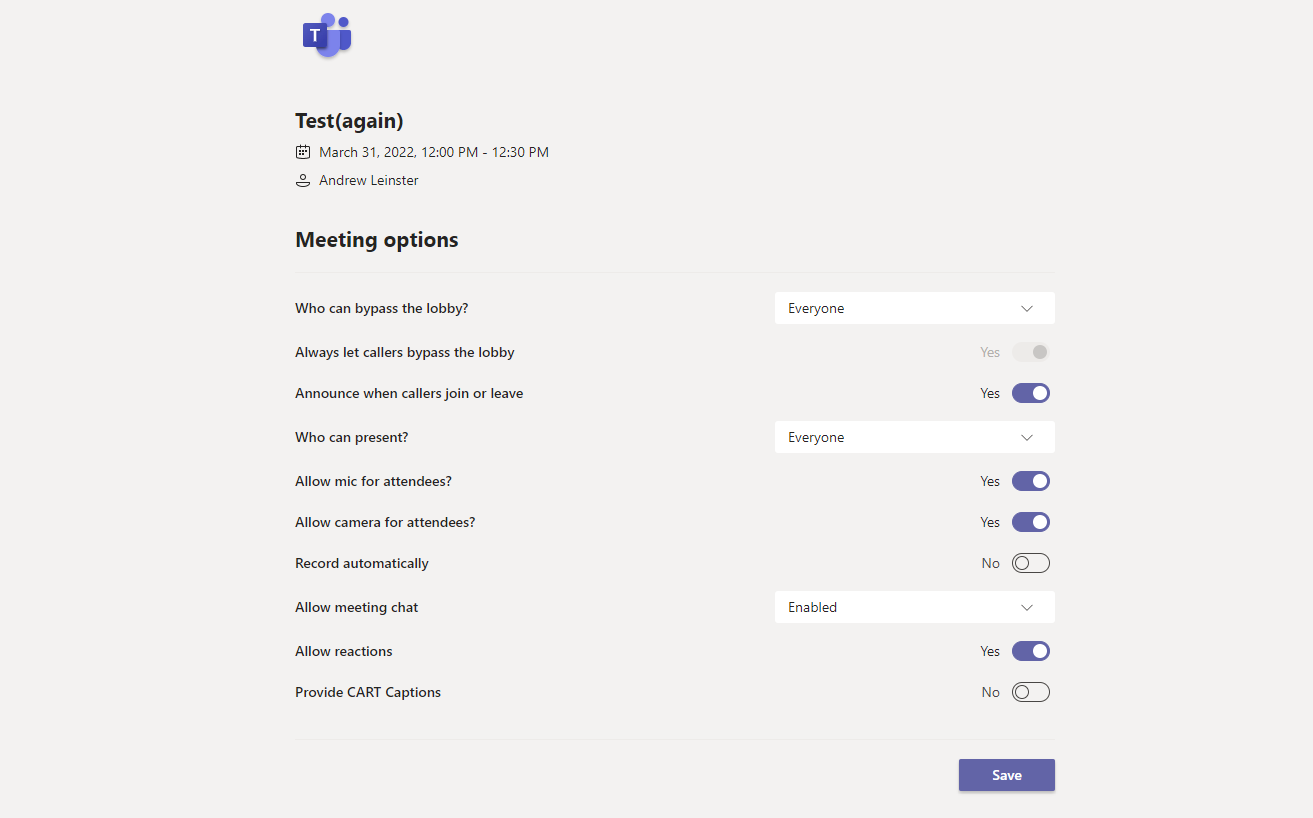
Once you’ve opened up meeting options, use the recommended settings below. These can be adjusted during the meeting if needed.
| Meeting option | Recommended setting |
|---|---|
| Who can bypass lobby | People I invite |
| Who can present | Only me or specific presenters |
| Allow mic for attendees | No |
| Allow camera for attendees | No |
| Allow meeting chat | Disabled |
| Allow reactions | Yes, if you want the audience to raise their hand to ask questions. If not, select No |
Read the Microsoft support guide to learn more about meeting options.
Disable the chat, use moderated Q&A instead
Chat in Microsoft Teams meetings is not moderated. Once an audience member sends a message, you cannot delete it from the meeting chat.
When you’re running an event, use the Q&A feature in Teams. This means if a nuisance user manages to join your meeting, they won’t be able to send chat messages.
First, disable chat in the meeting options menu as shown. Then, add the Q&A Teams app to your meeting. Once added, any questions that the audience submit appear in the In review section. This is only visible to presenters.
You can publish any questions you wish to answer so everyone can see them, or discard ones that aren’t on topic. Presenters can view and republish discarded questions in the Discarded tab.
For further guidance, see the Microsoft support guide on adding Q&A to Teams meetings.
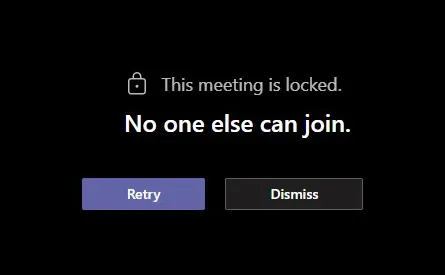
Lock the meeting
- Open the People pane from the meeting toolbar.
- In the top right of the pane, select More options.
- Choose Lock this meeting.
This will stop people joining the meeting, like locking the door to a meeting room. Once they’re removed, they’ll see the screen below if they try to rejoin.
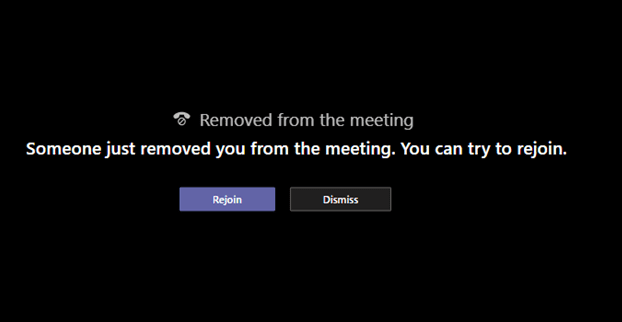
Remove them from meeting
In the People pane:
- Find the attendee in the attendee list.
- Open the More options menu via the three dots next to their name.
- Click Remove participant.
Once you remove a participant from your meeting, they will see the screen below. The only way they can engage with the meeting at this point is through the meeting chat.
Remove them from the chat
Removed attendees can still interact with the meeting chat. To remove their access:
- Open the meeting chat in Teams.
- Find the attendee.
- Click the x next to their name.

This means they cannot post or interact with polls, Q&A, or the meeting chat if you’ve chosen not to disable it.