Five tips for using the seminar room equipment
We’ve installed new cameras and microphones in the seminar rooms and lecture theatres that will be timetabled for the dual delivery of teaching. On the 8th and 9th September, we did a live demonstration of the cameras in the seminar rooms and what you can do with it during class.
The cameras and microphones will be set up for you coming in so there’s no need to worry about connecting up wires. These are connected to the classroom PC in the room and aren’t designed to work with your personal laptop. This means you should save your lecture slides and resources to the Files section in Teams, your OneDrive or home drive to easily access once you sign in.
If you missed the demos, you can watch the recording.
Tip #1: the ‘switch camera’ button in Teams
If you’re speaking to the class on camera and you’d like to switch to the document camera instead, you don’t need to go into ‘device settings.’
Instead, click the ‘switch camera’ button which appears over your view of yourself at the bottom right. This rotates the camera source from the in-room camera to the document camera and back.
Teams tips for tutors #1: the switch camera button! No need to dive into device settings during the tutorial – just select ‘Switch camera’ to rotate between the in-room camera and the document camera. pic.twitter.com/yny58YFa3O
— IT Services (@StAITServices) September 10, 2020
https://platform.twitter.com/widgets.js
Tip #2: move the camera wherever you like
If you’d like to turn the camera towards the students in the room to capture their discussion or towards the whiteboard – you can! The cameras are very light and mounted on a pole. This means you can pick it up and move it around the room as needed.
Teams tips for tutors #2: not a fan of the angle? Move it! You can pick up the camera stand and place it anywhere in the room to capture different elements of the lesson. You can also tilt the camera up and down. pic.twitter.com/aflW5oZwgG
— IT Services (@StAITServices) September 10, 2020
https://platform.twitter.com/widgets.js
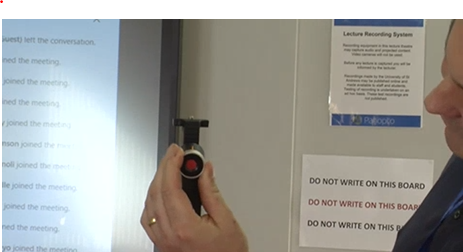
Tip #3: the privacy shutter
Has a student stayed behind after class to speak to you about something confidential? This is a good opportunity to close the privacy shutter on the camera to reassure them that no video equipment is active during your conversation.
To use the privacy shutter, just rotate the silver layer of the camera. If it’s on, the light will turn off and a red lens will cover the camera.
If you’re about to use one of these cameras for teaching, quickly check that the privacy shutter isn’t covering the lens.

Tip #4: mute your mic in Teams when online students are speaking
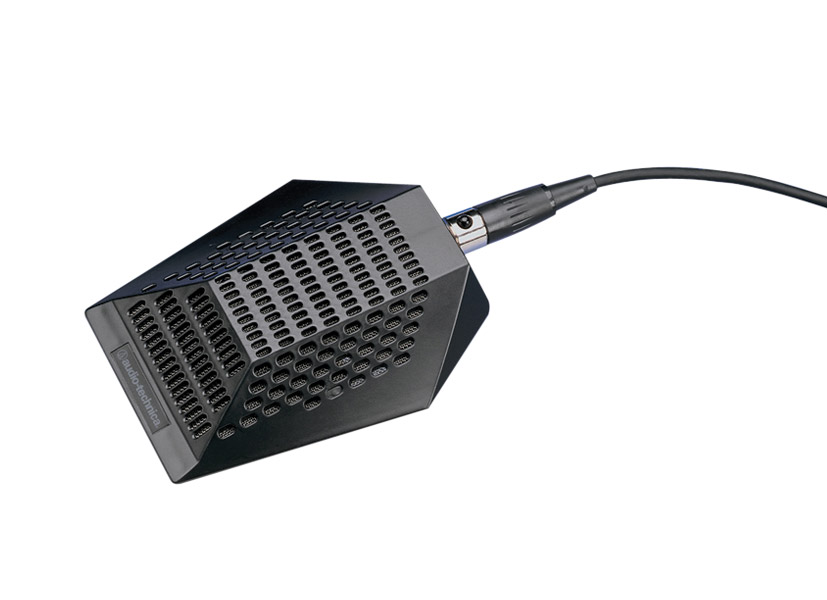
Since tutorials are based around group discussions, we’ve put in boundary microphones. This means they can capture audio from a distance so students don’t need to huddle around a mic and can stay seated.
This impacts online students as they’ll hear their voices echoing in the room. To eliminate this:
- Encourage students to use ‘raise hand‘ or Chat before speaking
- When you invite someone to speak, mute your microphone on Teams (or use the keyboard shortcut Ctrl + Shift + M)
- When they finish, unmute yourself
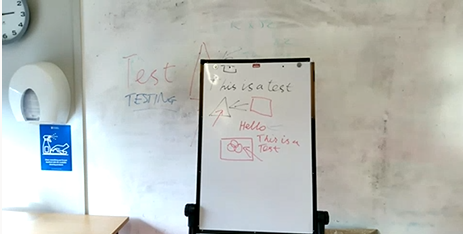
Tip #5: have students with low bandwidth? Use the document camera instead of the whiteboard
If one of your students has a low internet bandwidth and has a lower Teams video quality, it’s harder for them to read what you’re writing on the whiteboard.
If a student is struggling to read the whiteboard during your tutorial, grab a pen and paper and switch to the document camera instead – it’s much sharper.
For more AV set up guides, visit the IT website. If you’re in a room and are having trouble connecting something, contact the IT Service Desk at +44 (0) 1334 46 3333.